
I have a sister that takes her family to Disneyland several times a year. So when it came to getting good advice on how to have a great time at Disneyland I immediately turned to her. I have to admit that the best advice that she gave me was the “treat bag” advice. She has a small drawstring backpack for each child. Every morning before heading to the park she pulls out several prepackaged treats (such as the mini 1-2 ounce bags of mini oreos, goldfish, chips ahoy, teddy grahams, etc.) that her kids don’t usually have at home and tells them to pick 5-6 and place them in their bags along with a bottle water. This way the kids could pull out a water or treat anytime they were waiting in a long line, or walking to the other side of the park, without ever having to whine to mom or dad that they were hungry or thirsty.

My husband nicely arranged our treats in the drawers at the hotel so the kids could easily get what they wanted each morning.
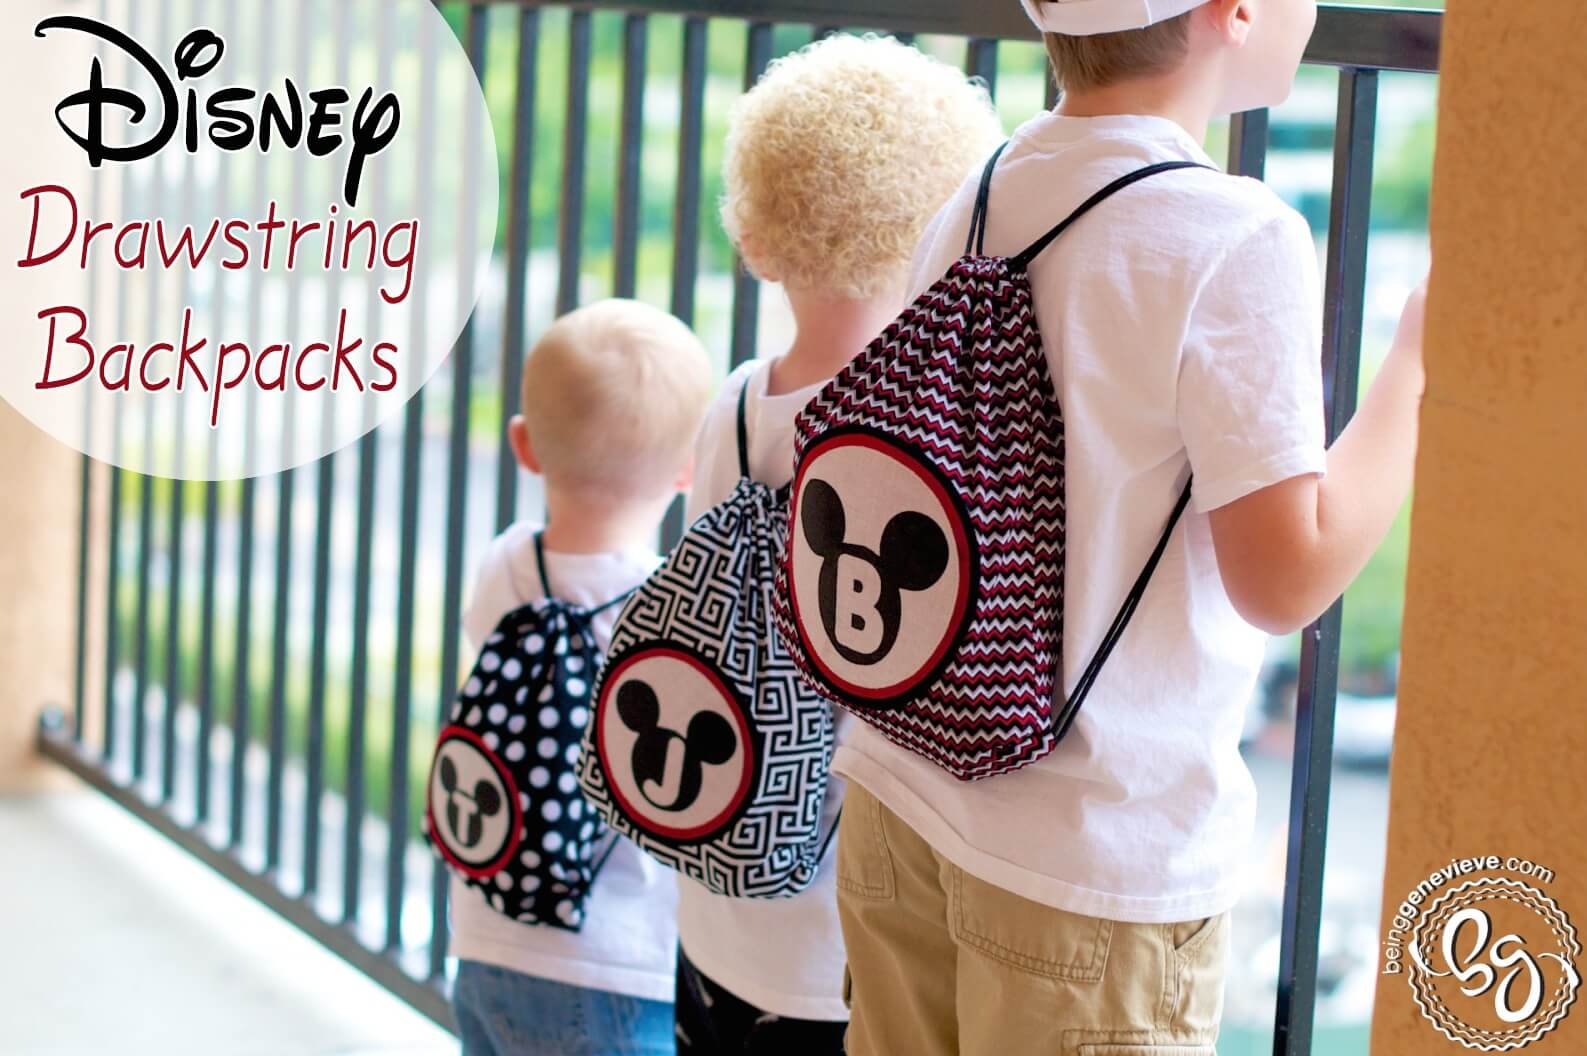
When she told me this I was a little leery that my almost 3 year old would keep a backpack on through out the entire day. Boy, was I wrong! He loved it! He could sit down in line pull out any special treat he wanted and eat it whenever and where ever he chose. I even offered to hold it a few times while in the park and he almost panicked at the thought of not having his treats with him. I never had to hold it – not once. It truely was the best Disneyland advice that I have every had! These Disneyland drawstring backpacks are mandatory in my mind!

My 4 year old happily eating his treat while waiting in line as the technicians tried to fix the broken Racers ride.
Note: I followed a few of Momtastic’s steps in putting together the drawstring backpack. So I will be referring to her post several times through this project.
LET’S GET STARTED
Supplies:
- 1/2 yard Patterned Fabric, you could get away with less for the smaller bag size
- 1/4 of each Solid Fabrics: White, Red and Black
- White, Black and Red Thread
- Heat ‘n’ Bond (Buy on Amazon – Ultra Hold)
)
- Acrylic Paint (Buy on Amazon –Black
)
- Fabric Medium (Buy on Amazon – Fabric Medium
)
- Sponge Brush (Buy on Amazon – Sponge Brushes 9pk
)
- Mickey Stencil
- Freezer Paper (Buy on Amazon – Freezer Paper
)
- Drawstring Cording (Buy on Amazon – Parachute Cording 550)
)
Step 1: Measurements for Fabric, Circles, Drawstring
After much debating, measuring and re-measuring my kids, I finally found the perfect size backpack for each age to fit a water (we put these pop top lids I found on Amazon on the kid waters. No lost or dropped lids, no spilled waters – Awesome.) and several treats, but not be too big that it is annoying to the kids. Your kids won’t even notice that these bags are on their backs. I made the cording just the right length for them to put their arms in comfortably, but not have it hanging low and hitting them in their lower back and bouncing around while they walk.

These bags fit all these treats with a little room to spare.
Size 0-2
- Patterned Fabric: Cut (2) 9-1/2″ x 13-1/4″
- Solid Circles: Download PDF pattern at the bottom of this step. (3-1/2″ — 4″ — 4-1/2″)
- Drawstring Cording: (2) 40″ – total of 80″
Size 2-4
- Patterned Fabric: Cut (2) 10-1/2″ x 14-1/4″
- Solid Circles: Download PDF pattern at the bottom of this step. (4-1/2″ — 5″ — 5-1/2″)
- Drawstring Cording: (2) 45″ – total of 90″
Size 4-6
- Patterned Fabric: Cut (2) 11-1/2″ x 15-1/4″
- Solid Circles: Download PDF pattern at the bottom of this step. (5-1/2″ — 6″ — 6-1/2″)
- Drawstring Cording: (2) 50″ – total of 100″
So….
For Example: Size 6-8 I would add 1″ to both the width and length, make my circles 6-1/2″ — 7″ — 7-1/2″ and I would add 5″ to the cording length. I would do those same additions (add 1″, increase circle size, and add 5″) for every size you go up.
![]()
Step 2: Circle Applique
Iron Heat ‘n’ Bond onto the black, red and white fabric.
Now you will be cutting out 3 circles for each bag: one white – one black – one red. You can print out the PDF from above or here are the diameter measurements if you want to make your own circles.
Size 0-2
- Bottom Circle: 4-1/2″
- Middle Circle: 4″
- Top Circle: 3-1/2″
Size 2-4
- Bottom Circle: 5-1/2″
- Middle Circle: 5″
- Top Circle: 4-1/2″
Size 4-6
- Bottom Circle: 6-1/2″
- Middle Circle: 6″
- Top Circle: 5-1/2″

I placed my bottom/biggest circle up from the bottom 3″ and in from both sides about 2-1/2″. Now iron each circle, one at a time, into place. Note: Pick which color layout works the best (ex. White, red then black -or- white, black then red), but I recommend always have white on top. 

After you have all the circles stuck securely to the fabric I used my sewing machine to blanket stitch each circle with it’s coordinating thread into place. This step is optional; I know many people who just rely on the heat ‘n’ bond to secure the applique to the fabric, but me-being-me I stitched it on. If my machine didn’t have a blanket stitch setting, I would do a straight stitch about 1/8″ from the edge all the way around each circle.


Step 3: Sew Top Casing
This is a step where I followed Momtastic’s tutorial. View her post for pictures, the steps I followed read: “On the front piece, press with your iron ¼ inch around three sides, leaving one short side raw. Sew those three ironed sides down. Repeat with the back piece of the backpack. On both the front and back piece, measure 2 ½” from the top of the raw side and mark with a pen. Fold down ½ inch, press another 2” to meet that pen mark you made. Press and sew close to the edge of this seam. Repeat on the back piece. You’ve just made the loops that the cording will slide through to cinch the pack closed.”

Step 4: Sew Backpack Together
I also followed Momtastic’s tutorial for this step. View her post for pictures, the steps I followed read: “Now take both pieces and lay them right sides together with pins making sure to line up those loops at the top opening. Sew the two pieces together, 5/8”, starting right below the loop on one side and ending right below the loop on the other side. Turn it inside out and press.” BUT I changed a few things with this step: I did a double stitch; I sewed it up using a 1/2″ seam allowance {instead of a 5/8″} and then went back and sewed it 1/4″ from the edge just to ensure that the bag was sturdy at all the seams.

Step 5: Thread Drawstring
I am not a fan of the regular cotton cording that is available at fabric stores. It can snag, fray and get very dirty! So before making these bags I went on a craft store search to see who had cording that was smooth, thick (so it wouldn’t cut into my little guys arms), and extremely durable. I ended up finding this amazing parachute cording at Michaels Craft. Now that I am putting together this post, I noticed that Amazon has it for a better price ($3.99 and free shipping). I think I paid $1 more for 4′ less. See my link above to purchase your own.

Place a safety pin on the end of the cording. This will make it much easier to thread through the casing.
Thread the cording through the front side and then go back through the back side to end up on the same side that you started.
Now thread the other side just as you did above. Now tie a knot in each side to hold the strings together.
Step 6: Sew Drawstring into Corners
I also followed Momtastic’s tutorial for this step. View her post for pictures, the steps I followed read: “Turn the bag inside out one more time. Unpick a couple stitches in both of those bottom corners. Put both knotted cords inside the bag and pull them each through the corner on the same side. Sew a zig zag stitch diagonally to hold the cord in place. Reinforce several times. Repeat with the second corner.” Note: I sewed a straight stitch SEVERAL times, instead of a zig-zag stitch.

Now you can flip your bag right side out.
Step 7: Paint Mickey & Initials
Now you will cut out (by hand or with a cutting machine) your Mickey image with freezer paper, making sure the plastic coating is on the bottom faced away from you. This plastic coating sticks very well to fabric when heated up with an iron. It makes the best stencil, even better than vinyl. What measurement did I do for the Mickey circle? I did the same diameter as the top circle measurement located above in step 2.
Note: At the bottom of this step, I have included a download button with a zip file containing the SVG and PDF files of the Mickey silhouette and circle. To do your kids initial, I used the font called Porky.

Begin at one spot and slowly iron (without steam) the freezer paper (plastic coating side against fabric) stencil onto the fabric.
Now iron on your child’s first initial.

Now dab on your fabric paint or acrylic paint mixed with fabric medium (view this post to see why I use fabric medium) onto the stencil. Let it completely dry {I wait 12-24 hours, just to make sure} remove the freezer paper stencil.

![]()
Step 8: Heat Set Paint
After you remove the stencil paper, place a piece of scrap fabric over the painted areas and heat set the paint with a hot iron.


Finished! To close your bag just pull the strings on both sides and you’re ready to go. Now start packing your bags and get ready for a whine-free {well almost} visit to Disney. No more whining about hungry or thirsty tummies. Now if only I could figure out a similar set up for at home. . . hmmmm.


