
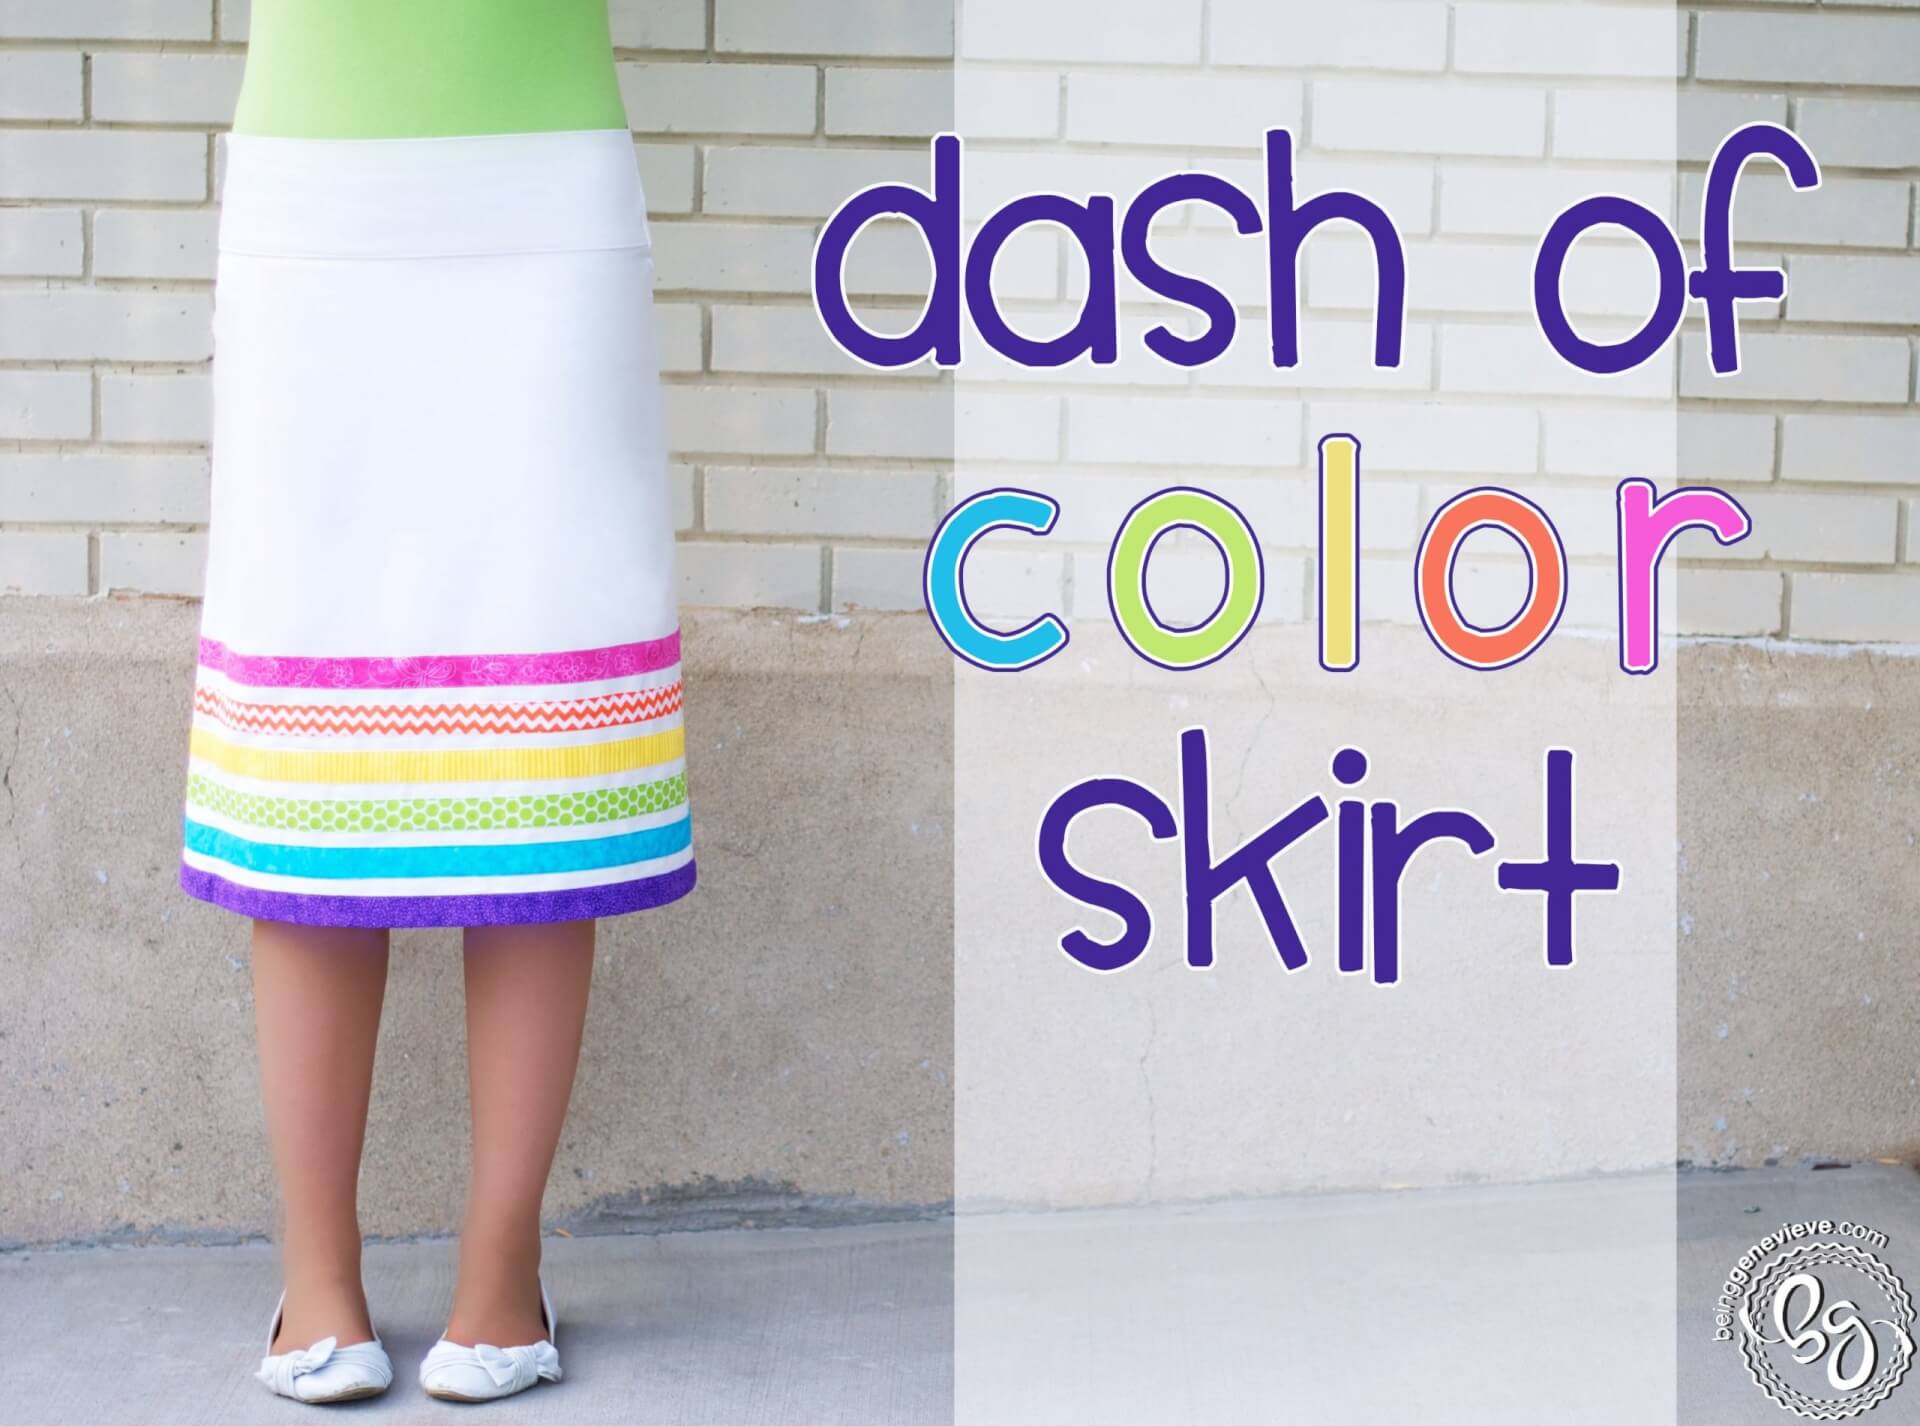

I love color; Not just color of any kind, but bright, fun, eye-catching colors! So you better believe that when I saw this adorable skirt for little girls I had to think of a way to make me one. I decided I wanted mine to be a fitted a-line skirt out of a medium-weight white fabric so that it wouldn’t wrinkle easily and be to see-through. I made this charlotte russe inspired skirt 2 years ago for my sister’s wedding and loved how well it fit.

So for this skirt I used that tutorial for a guide and made several of my own changes. I ended up making my own bias tape with bright, patterned summer colors. Here’s how to make yourself one. . .
Supplies:
- 1 to 2 yards White Linen/Canvas Fabric
- 9″ of Interfacing, lightweight
- 5″ of 5 different Cotton Fabrics -OR- 1 inch Single Bias Tape in colors: Pink, Orange, Yellow, Green and Blue
- 9″ of Cotton Fabric -OR- 1 inch Double Bias Tape: Purple
- 7″ White Invisible Zipper
*Before you begin make sure to wash, dry and iron all of your fabrics. I don’t do this with all my sewing projects, but I did with this one. You don’t want these bright colors “bleeding” onto the white skirt the first time you wash it.*

Step 1: Measurements (I only provided my measurements as a guide to help you with figuring out how to cut your fabric.)
Measure where you want the top of your skirt to be. I wear mine just below my waist and on the top of my hips, so I measured there, which happened to be 34″. If you aren’t sure how wide to do the bottom of the a-line skirt, grab one of your favorite skirts and measure the bottom. I like mine to be 48″. Now measure how long you want the skirt. I wanted mine 24″. Note: All seams allowances are 5/8″ unless otherwise stated. All seams have a zig-zag or serged finish.
Step 2: Cutting Fabric
Cut the following (colored numbers relate to measurements above):
Skirt (2 pieces) ~ 22” x 25-1/4“
Here is how to get the skirt measurement: length of skirt – waistband + seam allowances (24 subtract 3-1/4 add 1-1/4); bottom of skirt divided by 2 + seam allowances (48 divided by 2 add 1-1/4}
Waistband (2 pieces) ~ 8-1/4″ x 19-1/4”
Here is how to get the waistband measurement: hip measurement divided by 2 add seam allowances and waistband angle (34 divided by 2 add 2-1/4″)
Single Bias Tape (5 colors, 2 pieces of each color) ~ 2″ x width of fabric
Double Bias Tape (2 pieces, bottom color-purple) – 4″ x width of fabric
Lay both skirt pieces on top of each other. Take your waistband cut measurement and skirt cut measurement and subtract them from each other. (Ex: Mine was 25-1/4” subtract 19-1/4“, see above.) Then divide that number (6) by 2 giving me the number of 3. So I marked 3” in from each side of my skirt with a pin. Then angle the ruler from each pin down to the bottom and cut.

Now I folded my skirt in half lengthwise to cut a scoop on the bottom edges and the top edges. This makes your skirt, when you seam the side seams, come together in a circle rather than a point. If you don’t cut this slight scoop you will have a skirt that comes to a point on the bottom sides (were seams come together) and top of waistband (on the hips). Creating the sides to be longer then the rest of the skirt. Note: You can kind of see how the sides on my charlotte russe inspired skirt are longer and come to a point (view picture above.)
 Here is my pattern for the Fitted A-Line Skirt Scoop.
Lay the scoop down on the top and bottom edges. (For the top you need to cut along the line and then cut away 1/2″ from the rest (view picture if confused).


Now unfold the skirt and you will see the top scoops and. . .

The bottom scoops.
Take the 2 waistband pieces and press each one WST (wrong sides together), folded in half, lengthwise. Lay both pieces on top of each other with the folded edge along the 3-1/2″ line on a cutting mat. Angle a ruler down 1″ to the 0″ line on the cutting mat and cut. 

Open up the folded waistband pieces and iron-on a piece of lightweight interfacing. The charlotte russe skirt I made didn’t call for this and it was a mistake. The waistband bunched and creased whenever I sat down – annoying! This interfacing will give the waistband the support it needs. 

Now pin the waistband to the top of skirt piece with RST (right sides together) and sew together. {It’s may seem like it will be a little tricky with one being scooped and the other straight, but it works out quite well.} Make sure to zig-zag or serge the seams. Repeat for other skirt piece.


Zig-Zag Seams
Iron seam and pin seam flap to the waistband side of the seam. {If you don’t pin the seam flap to the waistband side of the seam it will show through the white skirt.}


If you don’t pin and topstitch on waistband side the seam will show through the skirt.
Top stitch 1/8″ on the top and bottom of the waistband.

Step 5: Bias Tape/ Colored Strips
I saw these Bias Tape Makers on another blog and couldn’t wait to get me some. I used this tutorial to see how to use my new bias tape makers. I made 1″ single bias tape for all the colors, except purple. I made the purple 1″ double bias tape to finish off the bottom of the skirt and hide the raw edge.


Here is how you make bias tape without a metal maker. . .
Iron in half to make a crease. Fold one side into middle and iron. Fold the other side into middle and iron. Now iron everything back in half. Note: To make single bias tape, do everything the same, except don’t fold everything back in half at the end.


Now let’s apply these adorable strips of fabric to the skirt. Begin with the blue and pin 1-1/2″ from the bottom of the skirt. Sew by top stitching the bias tape to the skirt.

For the other colors you will do the same, except don’t do the purple yet. Just pin 1-1/2″ up from the bottom of the last color.


Step 6: Zipper & Side Seams
For the invisible zipper, I used this tutorial to shorten mine to 7″. I then used this tutorial for actually sewing it.

Now seam the rest of the seam together (and zig-zag seam), making sure to line up the bias tape. Iron seam flat. Sew the other side of the skirt together just the same, making sure to line up the bias tape.


Step 7: Hem/Finished Edge
For the bottom of the skirt you will be covering the raw edge with your double bias tape. Pin one side of the bias tape on and then fold over other side and pin OR you can sew it on as Crystal did here.
For the side seams: I pinned the bias tape onto the bottom leaving 1/4″ extra at each seam. I then unfolded the double bias tape, pinned the two pieces together and stitched using a 1/4″ seam. Then I pinned it back to the skirt. This way both of the double bias tape seams lined up with the side seams of the skirt. Now top stitch on just like you did the other bias tape strips.


You did it! Give yourself a pat on the back and go enjoy your new skirt that can match almost any color of shirt!

Pinterest Layout


Super cute skirt! Maybe my girls will make one. Great tutorial.