
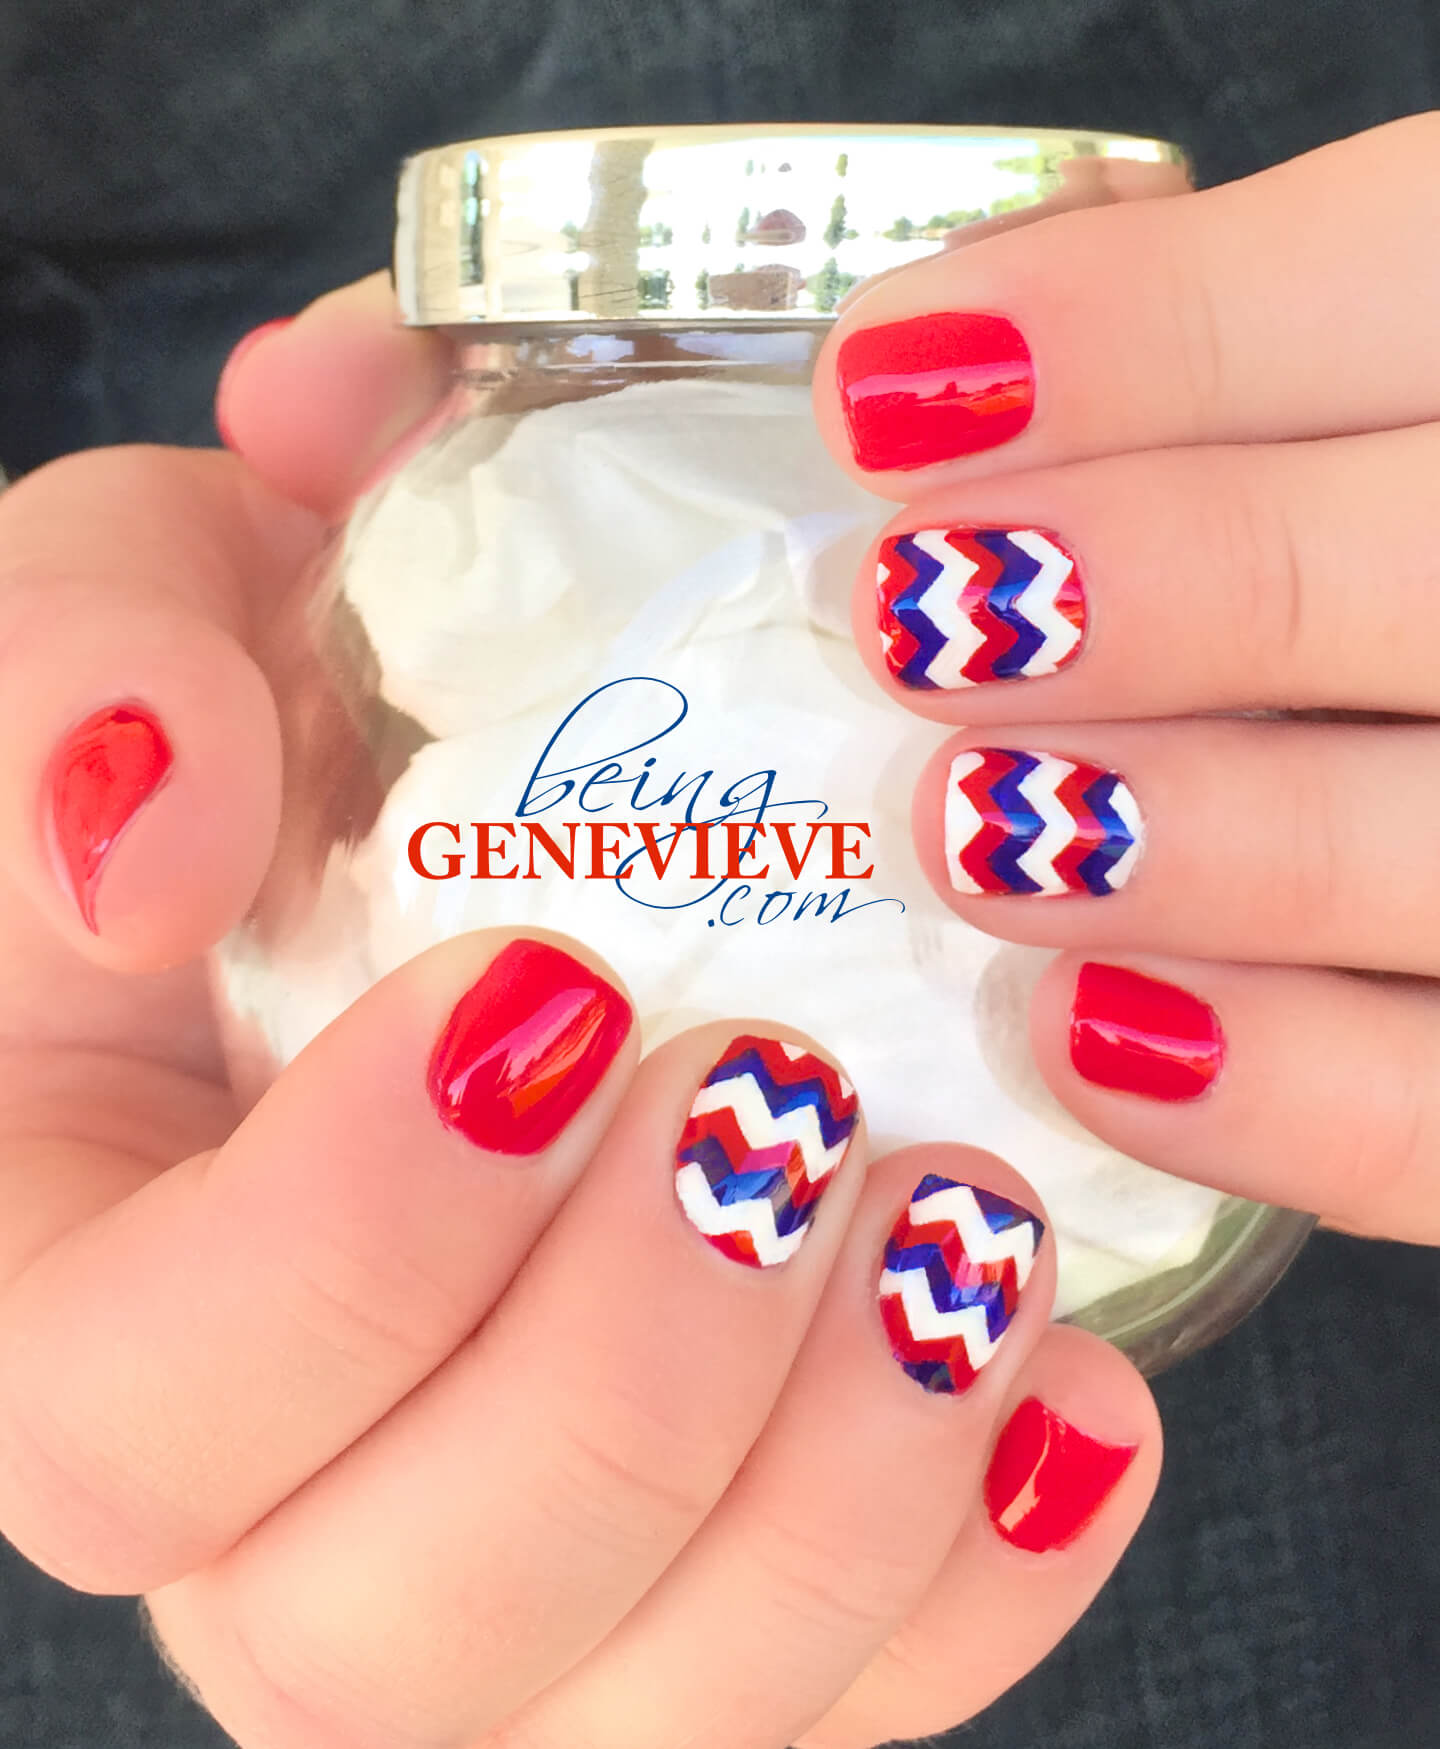
I have to admit that I have been wanting to do an accent chevron nail that incorporated more than just 2 colors for quite a while now. But the truth is, the thought has scared me! So for this 4th of July, I decided I would take a deep breath and give it a try. Well, I’m happy to report that it wasn’t too hard to do and I absolutely love the end result of having the three colors all within a chevron pattern. So here is how I did it . . .
Note: I will be providing instructions on how to achieve this look with plain polish, along with Gel Polish.
Step 1: Prep Nails
View my post on Nail Polish Prep.
Step 2: Paint Nails
Paint all of the nails with two coats of red polish. I used the Shellac color called, [amazon text=Wildfire&asin= B003OH0KBA].
Gel Polish: Apply two coats of red polish and cure in light (curing after each coat). Cure 2 minutes in the UV light, or 1 minute in an LED light. 
Step 3: Chevron Stripes
You will now stick the chevron vinyl guides onto your middle and ringer finger nails (view the pictures at the bottom of this step for correct placement). {Note: I just cut my own with my craft cutter — Download the SVG and PDF file below, but I have heard that you can buy chevron tape or you could cut scotch tape with pinking shears.}

Download this zip file for the SVG and PDF files for the chevron nail stripes. My SVG file for the set of 3 chevron stripes (good for one nail) measures width: 0.8″ x height: 0.4″![]()
Here is how I placed my vinyl chevron guides . . .
I placed two guides very close to each other and then left a space (approximately the size of another vinyl guide) and then repeated that until I ran out of nail. Note: I placed my guides differently on each finger so they would purposely look slightly different from one another. This way I didn’t need to worry about getting them to all look the exact same.

Now for the painting; Paint blue acrylic craft paint and remove the guides right above the blue painted chevron. 

Then you will paint your white acrylic paint, bumping up against the blue chevron stripe (be careful during this step) and next to the remaining guides. Note: Bumping the paint up against the blue stripe isn’t that hard, you just need to go slowly. The blue paint will have a ridge next to it so the white paint should just naturally run right up against it with out you having to manually paint up against it. Make sense?!?!
Now remove the remaining guides and do a little touch-up, if it is needed.
Step 4: Apply Final Top Coat
Now apply your top coat. Make sure the paint is completely dry before adding top coat to help avoid smearing.
Gel Polish: Apply top coat, only after paint is completely dry, and cure in UV light for 2 minutes.
Step 5: Allow to Dry and Apply Cuticle Oil
Allow your polish to dry completely. Apply a cuticle oil just around your nails on the cuticle and rub into the skin.
Gel Polish: Remove sticky residue on top of nails with a little alcohol or polish remover and apply cuticle oil. Remove gel polish after 2-3 weeks, check out Gel Polish Removal for the quickest, easiest and best way to remove gels.


