
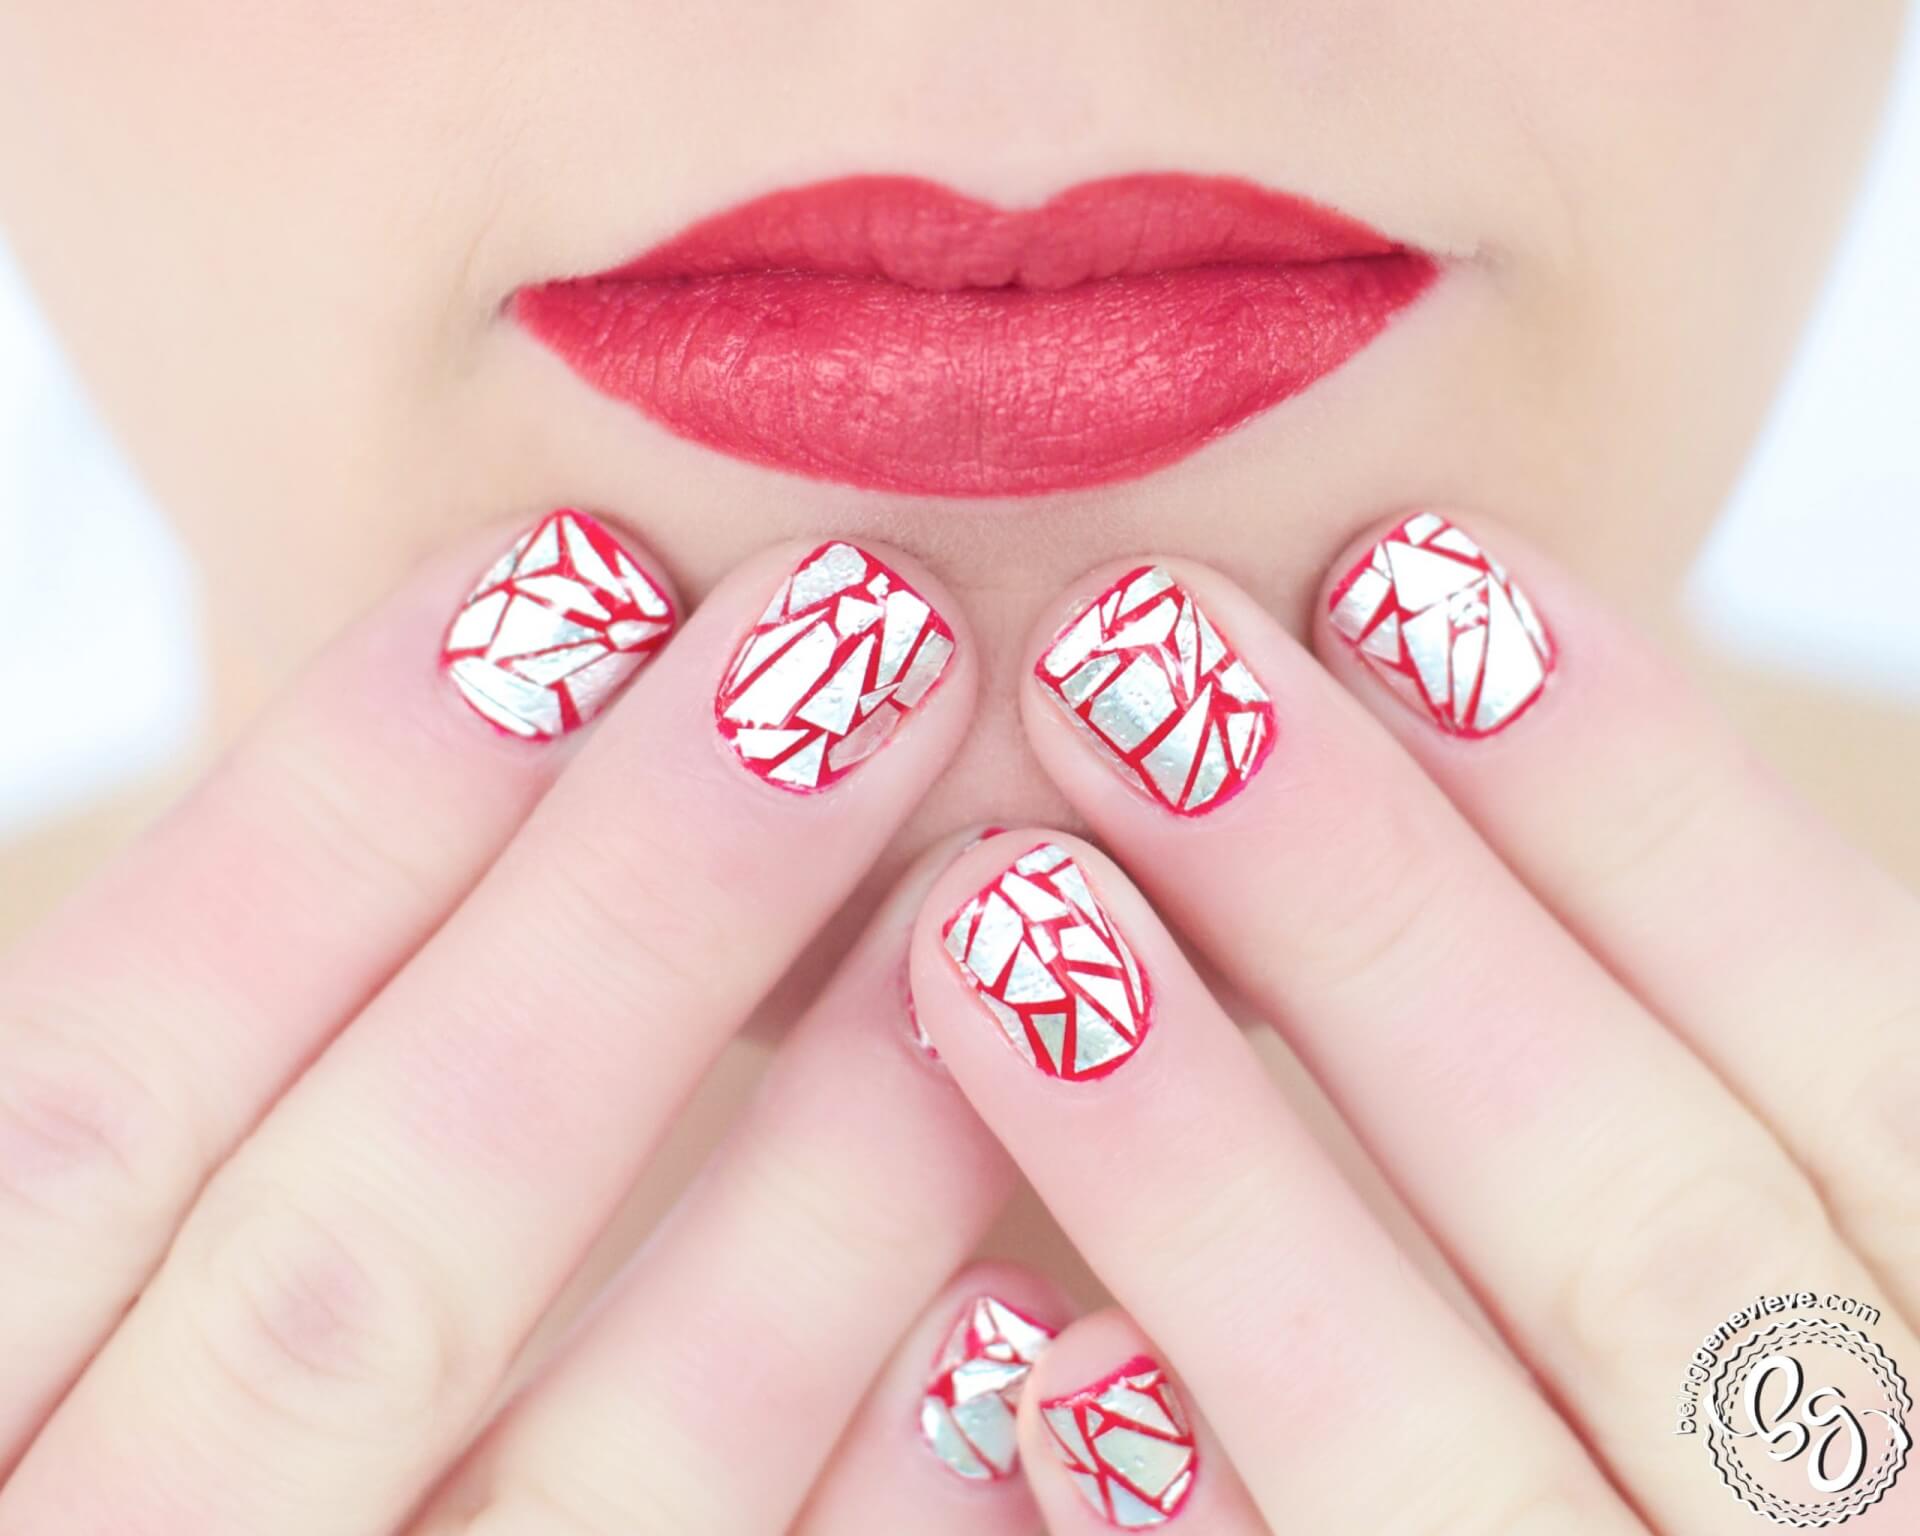
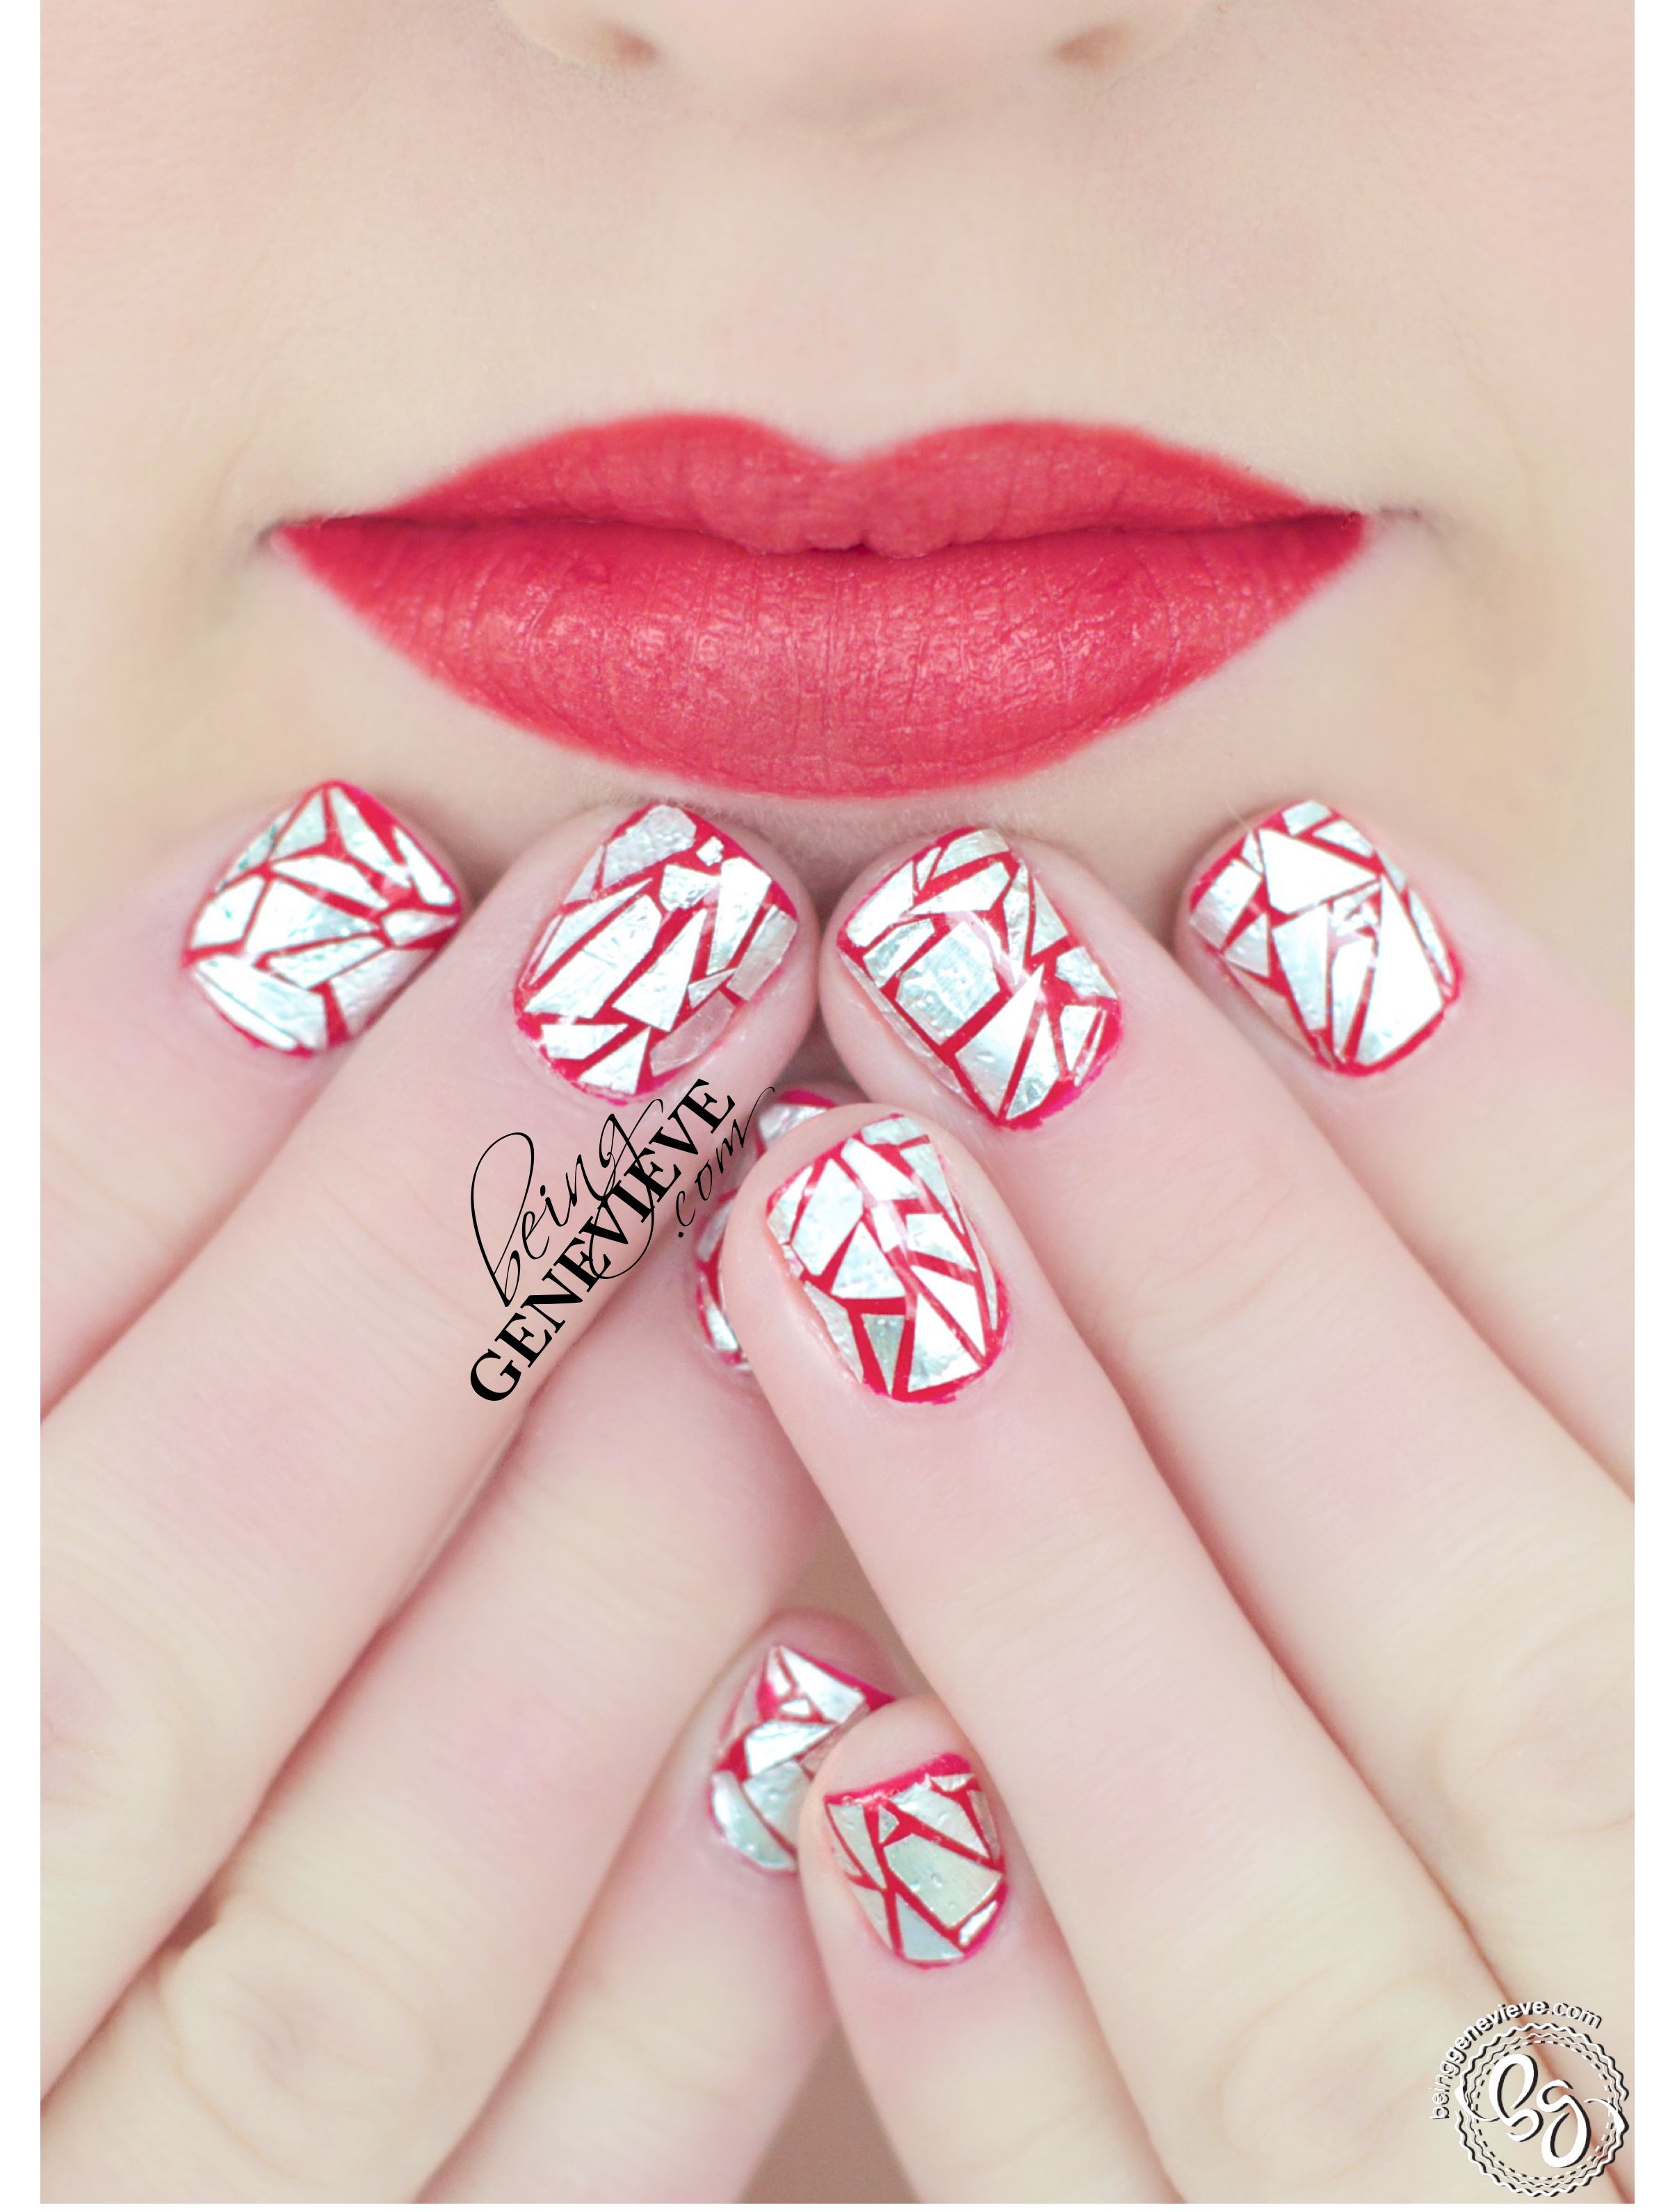
Last week, I stumbled across these amazing nails. I was instantly in love; I mean how could you not be!!! I decided I could recreate these nails with my own twist — using tin foil from my kitchen. I love the gold loose glitter pieces that lackfein used, but I knew I could figure out how to do these using supplies I already have around the house. So I took out my kitchen aluminum foil and began cutting into small shards. Perfect! Now here’s how I created this look . . .
Note: I will be providing instructions on how to achieve this look with plain polish, along with Gel Polish.

Step 1: Prep Nails
View my post on Nail Polish Prep.
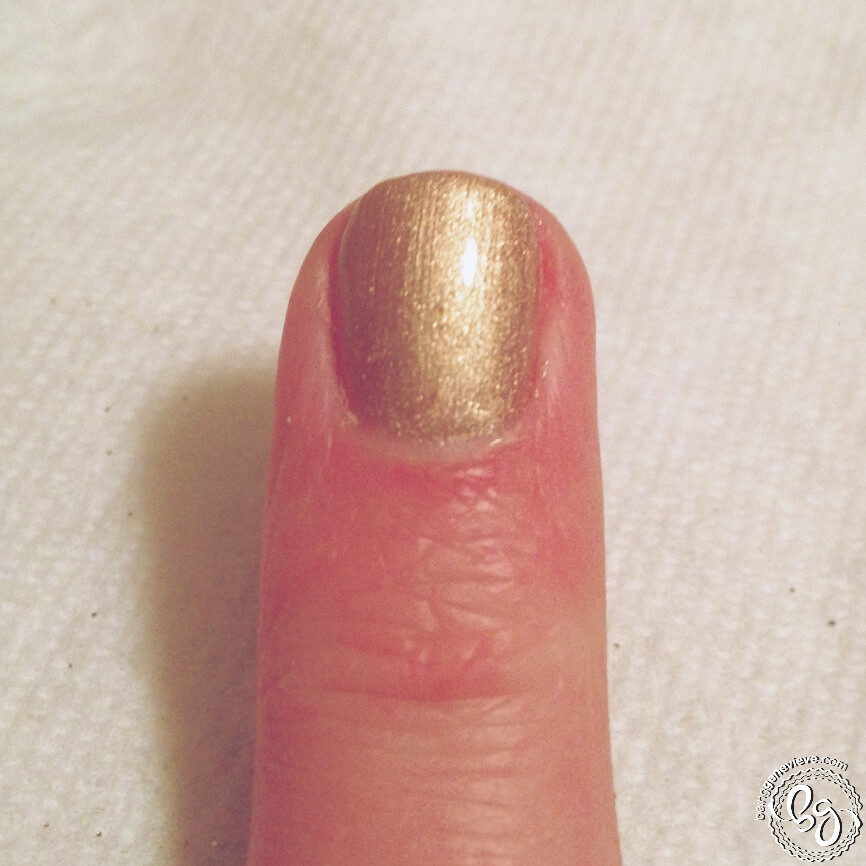
Step 2: Paint Nails Red
Paint all of the nails with two coats of red polish. I used the Shellac color called, Wild Fire.
Gel Polish: Apply two coats red polish. Cure 2 minutes in the UV light, or 1 minute in an LED light.
Step 3: Tin Foil
Grab some tin foil from your kitchen and begin cutting it into random small pieces. You should no bigger of a piece than 3″ x 3″ to do all 10 nails. You will need all different sizes and shapes. This should only take you about 3-5 minutes.


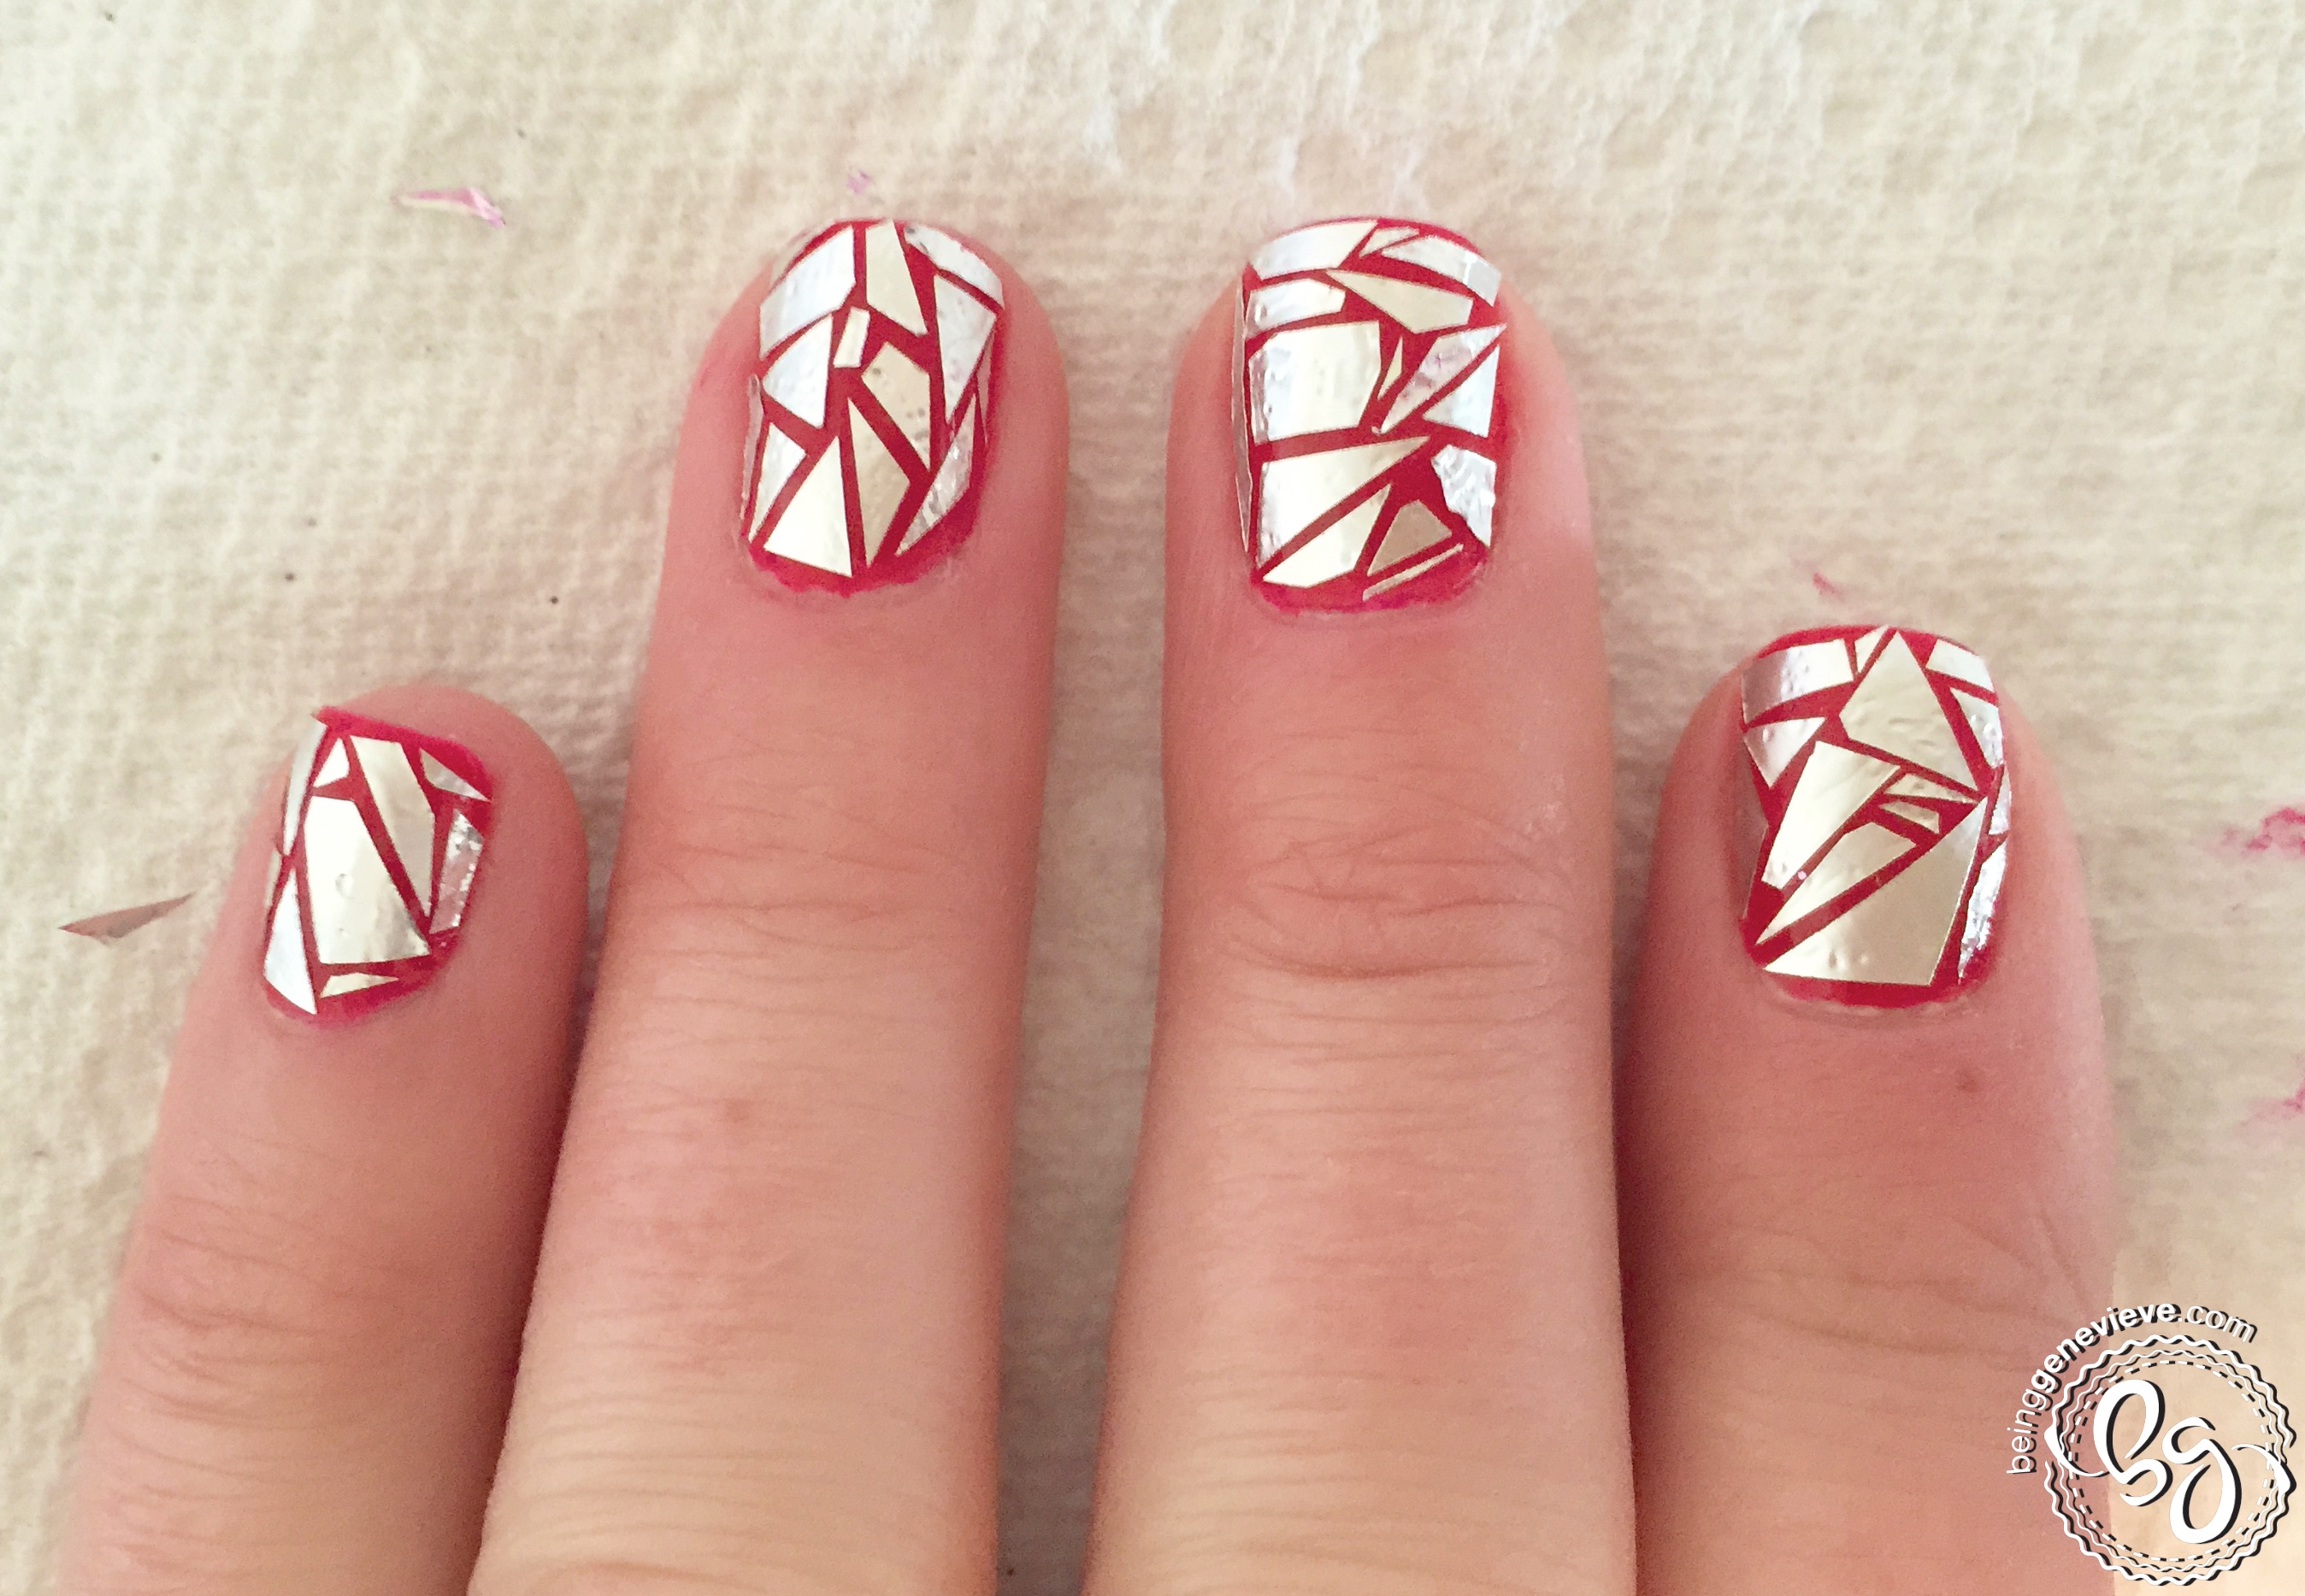
While the second coat of polish is tacky {not wet} gently place cut up foil pieces onto your nails. I began by placing some of the straight edges of the foil next to each other and then started filling in the empty spaces until the entire nail was covered. (For me, it took about 3-5 minutes to do one nail. So to do all 10 took me a little while. I think in the future, I will just do an accent nail or two since it still looks amazing, but takes much less time.)


Place straight edges next to each other.


To me, just doing one nail for an accent nail looks just as amazing as doing all 10.
–-OR– You could just place some long skinny pieces next to each other on part of the nail to create a interesting design on an accent nail. Be creative!
NOTE: The best way to pick up the foil is to use a small stylus, mechanical pencil or a toothpick. You touch it to a damp cloth and then to the top of the foil. Place onto the nail.
Gel Polish: After your second coat of polish is cured, but tacky place foil pieces into place.
Step 4: Apply Final Top Coat
Before applying the top coat, I gently pushed down on all the foil to make sure it was stuck well and that no edges were sticking up. Now apply your top coat. Make sure to seal it in well. I ended up doing two applications of top coat.
Gel Polish: Apply top coat and cure in UV light for 2 minutes. If needed, do another application of top coat and cure in light.
Step 5: Allow to Dry and Apply Cuticle Oil
Allow your polish to dry completely. Apply a cuticle oil just around your nails on the cuticle and rub into the skin.
Gel Polish: Remove sticky residue on top of nails with a little alcohol or polish remover and apply cuticle oil.
Remove gel polish after 2-3 weeks, check out Gel Polish Removal for the quickest, easiest and best way to remove gels.


