
For the last 3 years, we have lived in a rental. It wasn’t our original plan, but life happens and you just go with the flow. After being in this home for 3 years and seeing we could be here another year, I decided to ask our landlord if I could paint the front door. She found no problem with that, so I immediately went to work trying to decide what color I should do.
After much looking around and browsing Pinterest I came to the conclusion that I wanted a wood door, not a brightly colored door. But this not being my home, I couldn’t put in a wood door. So I began looking around to see how I could create a faux wood door. I stumbled across this post by Love Paper Paint and loved the look she accomplished. The only problem was that our door was a metal door with absolutely no texture and hers had a wood grain texture to it. So my brain went back to work, trying to figure out how to pull this off and after a few days I came up with the idea of creating wood texture with paint. So here is what I did. . .
What I used:
- Cameo Creme Paint Color – Lowe’s HGTV Color
- Minwax Wiping Stain – Rustic Mahogany
- Minwax Wiping Stain – Natural Chestnut
- Minwax Helmsman Indoor/Outdoor Urethane – Water Based Clear Semi Gloss
- Plastic Drop Cloth
- Painter’s Tape
- Graining Tool
- Chip Brush
- Plastic Gloves
- Old Towel (to wipe away excess stain)

Step 1: Clean/Prime
First, clean your door very well. Once it is clean, remove hardware, tape off any windows (and I also taped off the sides because I was only doing the outside portion of the door) and then paint a primer onto the door. NOTE: I didn’t do this step because our door was pre-primed and had never been painted. So I just had to do a good scrubbing of the door.

Step 2: Paint/Texture
Next, Love Paper Paint recommended painting the door “a tan-yellow exterior base-coat. Basically I chose a color similar to the look of raw, unstained wood, but wanted a tad bit more yellow in the undertone than real wood.” But since I also needed to create a wood grain texture, I did something really wacky and quite hideous. Just look for yourself below.
I painted the door just as if it were wood panels (view picture).

Paint in a arch around top window (if you have a door like mine), everything in blue paint horizontal and everything else paint vertical.
I painted an area of the door and then used the wood grain tool over the wet, base-coat paint (work in sections like I did). Rock the tool differently every time you do it this will create a random, natural wood look.


This is what the door will look like when you have finished with the wood texture technique. Hideous, I know. Your neighbors will give you some strange looks and question your taste in design, but it will all be worth it in the end. Now, make sure the paint it all dry before moving onto the stain. {I think I waited about 4-6 hours.}
Step 3: Mix Stain Colors
The gel stain or wiping stain colors I used were Rustic Mahogany and Natural Chestnut. For the first coat, I did a mixed version of these colors. (Note: For the second coat, I did just Rustic Mahogany.) I began by getting a plastic cup and measuring 1/2 cup water and marking it with a permanent marker. I then added another 1/2 cup and marked that. I dumped out the water and dried the cup. Then fill one of the stains to the first line and the other stain to the second line, mix with a plastic spoon.
Note: I couldn’t find any gel stain at Home Depot or Lowes, but wiping stain is the exact same consistence and works the same. I found my wiping stains at Lowes.)
Step 4: Stain
Now for the stain . . . I taped off just as Rachael at Lovely Crafty Home suggested. “In order to get the most realistic and natural effect, you’ll want to {paint and stain} in sections… do all the vertical grain, followed by the horizontal grain. Use painter’s tape to mask off the sections {where} joints {would be}.” I did this to help create the look of where the different wood pieces would be joined, if I had a wood door.
Note: After doing all the vertical areas, I removed the tape and did the horizontal lines, but I didn’t add more tape I just free handed it and did the “joint” areas with less stain so the “joint” line would be defined more.

Notice where I taped off it helped create this “joint” look in the wood.
When painting the stain, work in sections. I painted an area and left it on for 10-15 minutes and then wiped the excess away. After the entire door is done, let the stain dry before doing the second coat. I waited for about 8-10 hours. You may be antsy to get done, but don’t rush it or you will end up regretting just like Rachael at Lovely Crafty Home says.

This is how the first coat looked.
Now do a second coat of stain the same way, but use only the rustic mahogany stain for the second coat.

Notice the wood grain texture under the stain.
Step 5: Seal
After the stain is completely dry, wait about 24 hours, then you can apply the urethane. I used water-based, but have always used oil-based in the past. Just use whatever you have on hand or like more. Do 3-4 coats of the urethane, waiting about 4 hours in between each coat. Remember to use sandpaper very lightly between each coat of urethane.
Step 6: Hardware
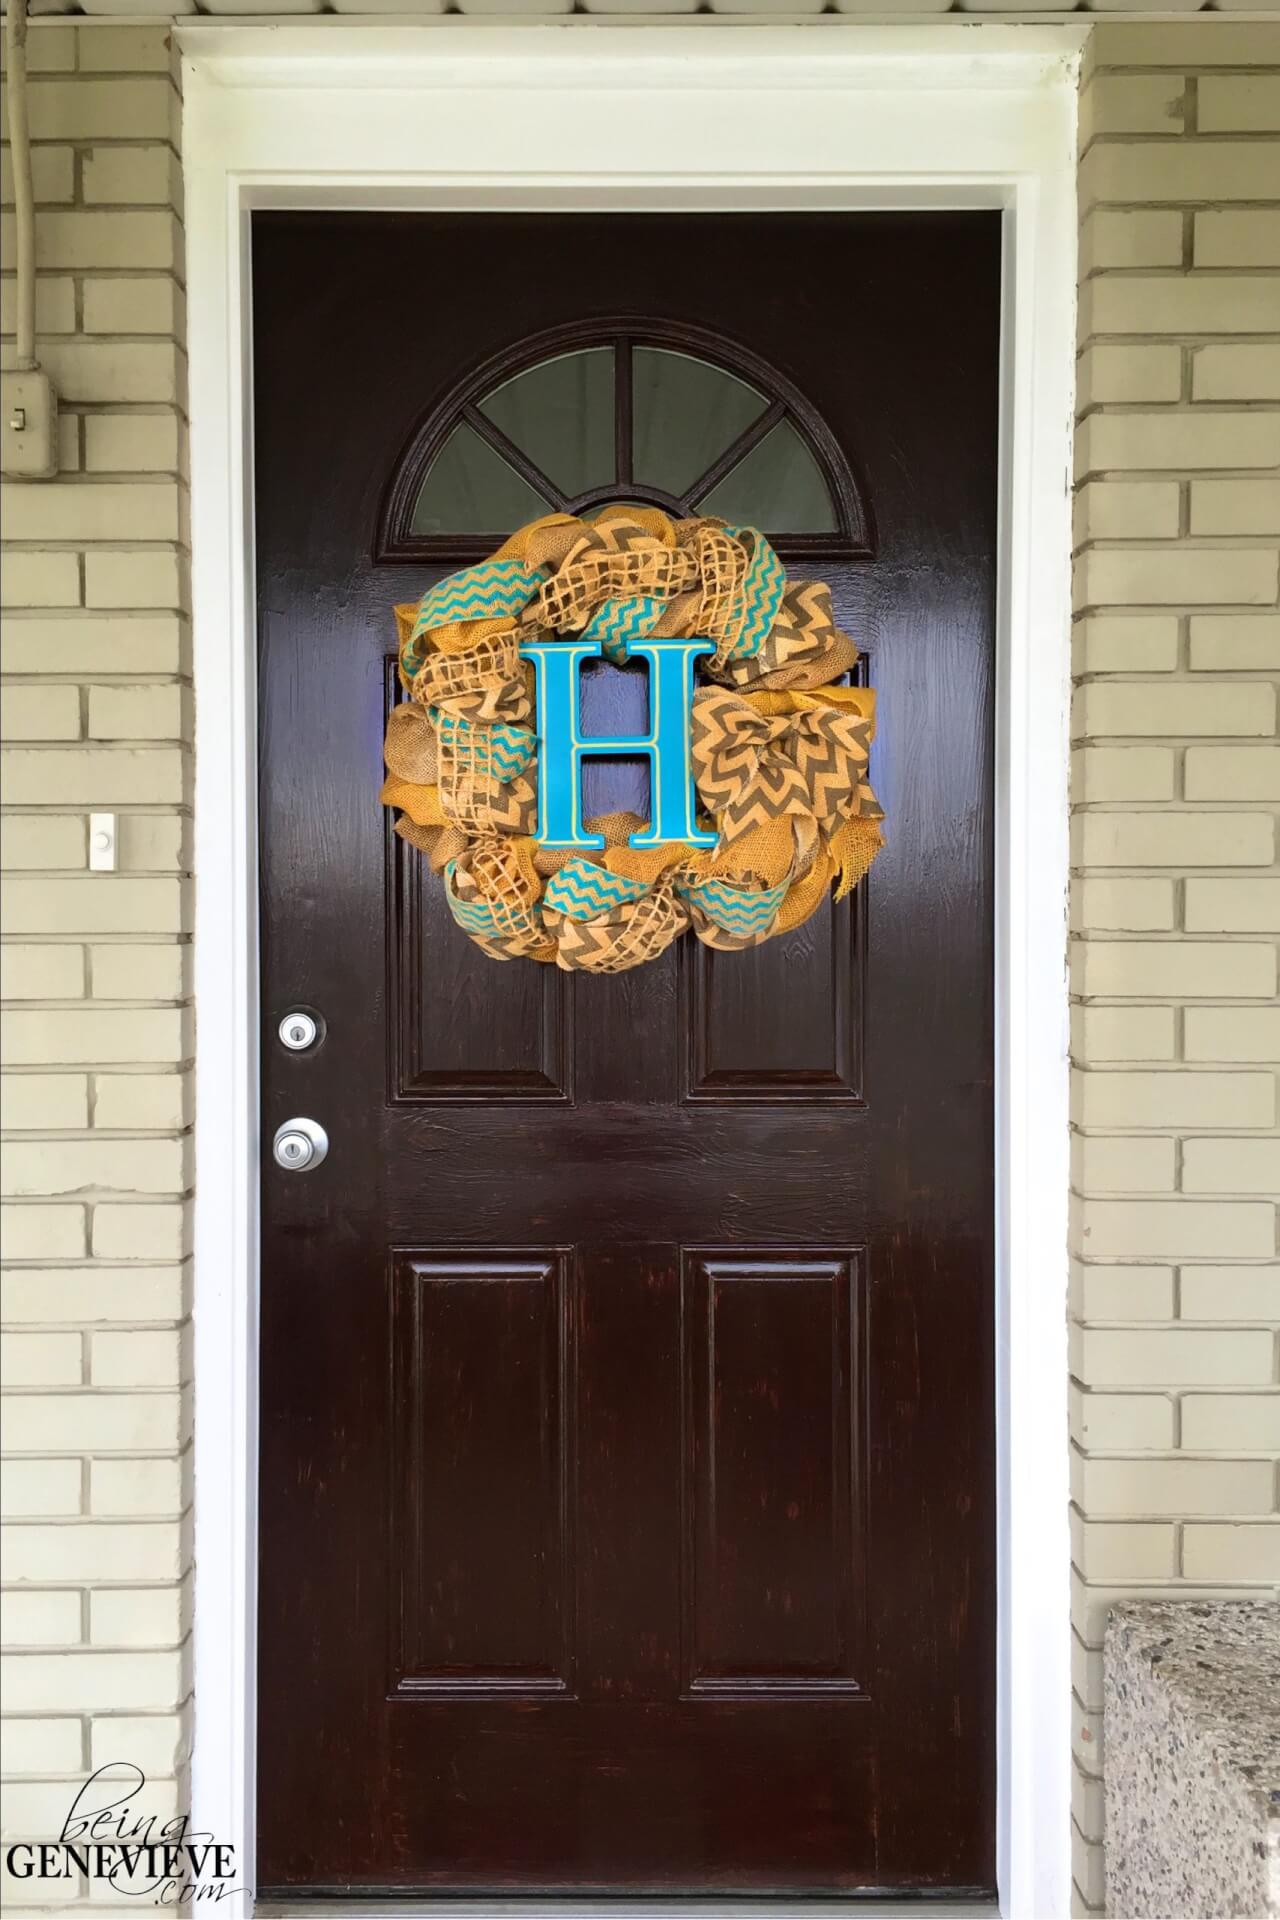
Now if this were our home, I would have probably bought new fancy hardware, or spray painted our current hardware. It is all personal preference, but just make sure that the urethane is completely dry and set before putting the hardware onto the door. Now go and enjoy your beautiful new door! Thanks for stopping by. (Wreath Tutorial)


Hello,nice share.
Just what was Looking for. Have the exct door, & budgting plantatio shutters leavs m without a wooden door. I’m wondering if therea anythng i can do to hide the semi- circle window ! I want to remove the moulding around it ..hmmmm? Or would the window it fall out ? Ahhhh, maybe I’ll just insert wood in that area. I JUST NOW thought of that; THANK YOU for all your inspiration. ?
You’re welcome! I’d love to see your before and after pictures! 🙂