
Christmas is quickly approaching and this simple, DIY, farmhouse style sign is perfect for any home; Make it for your home or make as a gift for someone special in your life. You will be amazed at how simple this really is!
Supplies:
- Underlayment
- 1″ x 2″ Pine Board
- Wood Stain, Special Walnut
- Image Photo
- 44 Quarters
- Mod Podge
- Foam Brush
- Gorilla Glue, clear-no foam
Step 1: Cut Wood
For this project, I went to Home Depot and found this incredibly lightweight, thin underlayment board (next to the particle boards).

Now cut the underlayment into a 11″ x 14″ rectangle. Cut 2- 11″ frame pieces and 2- 15 1/4″ frame pieces.
Step 2: Stain Wood
I stained the pine board frame with a coat of special walnut wood stain.

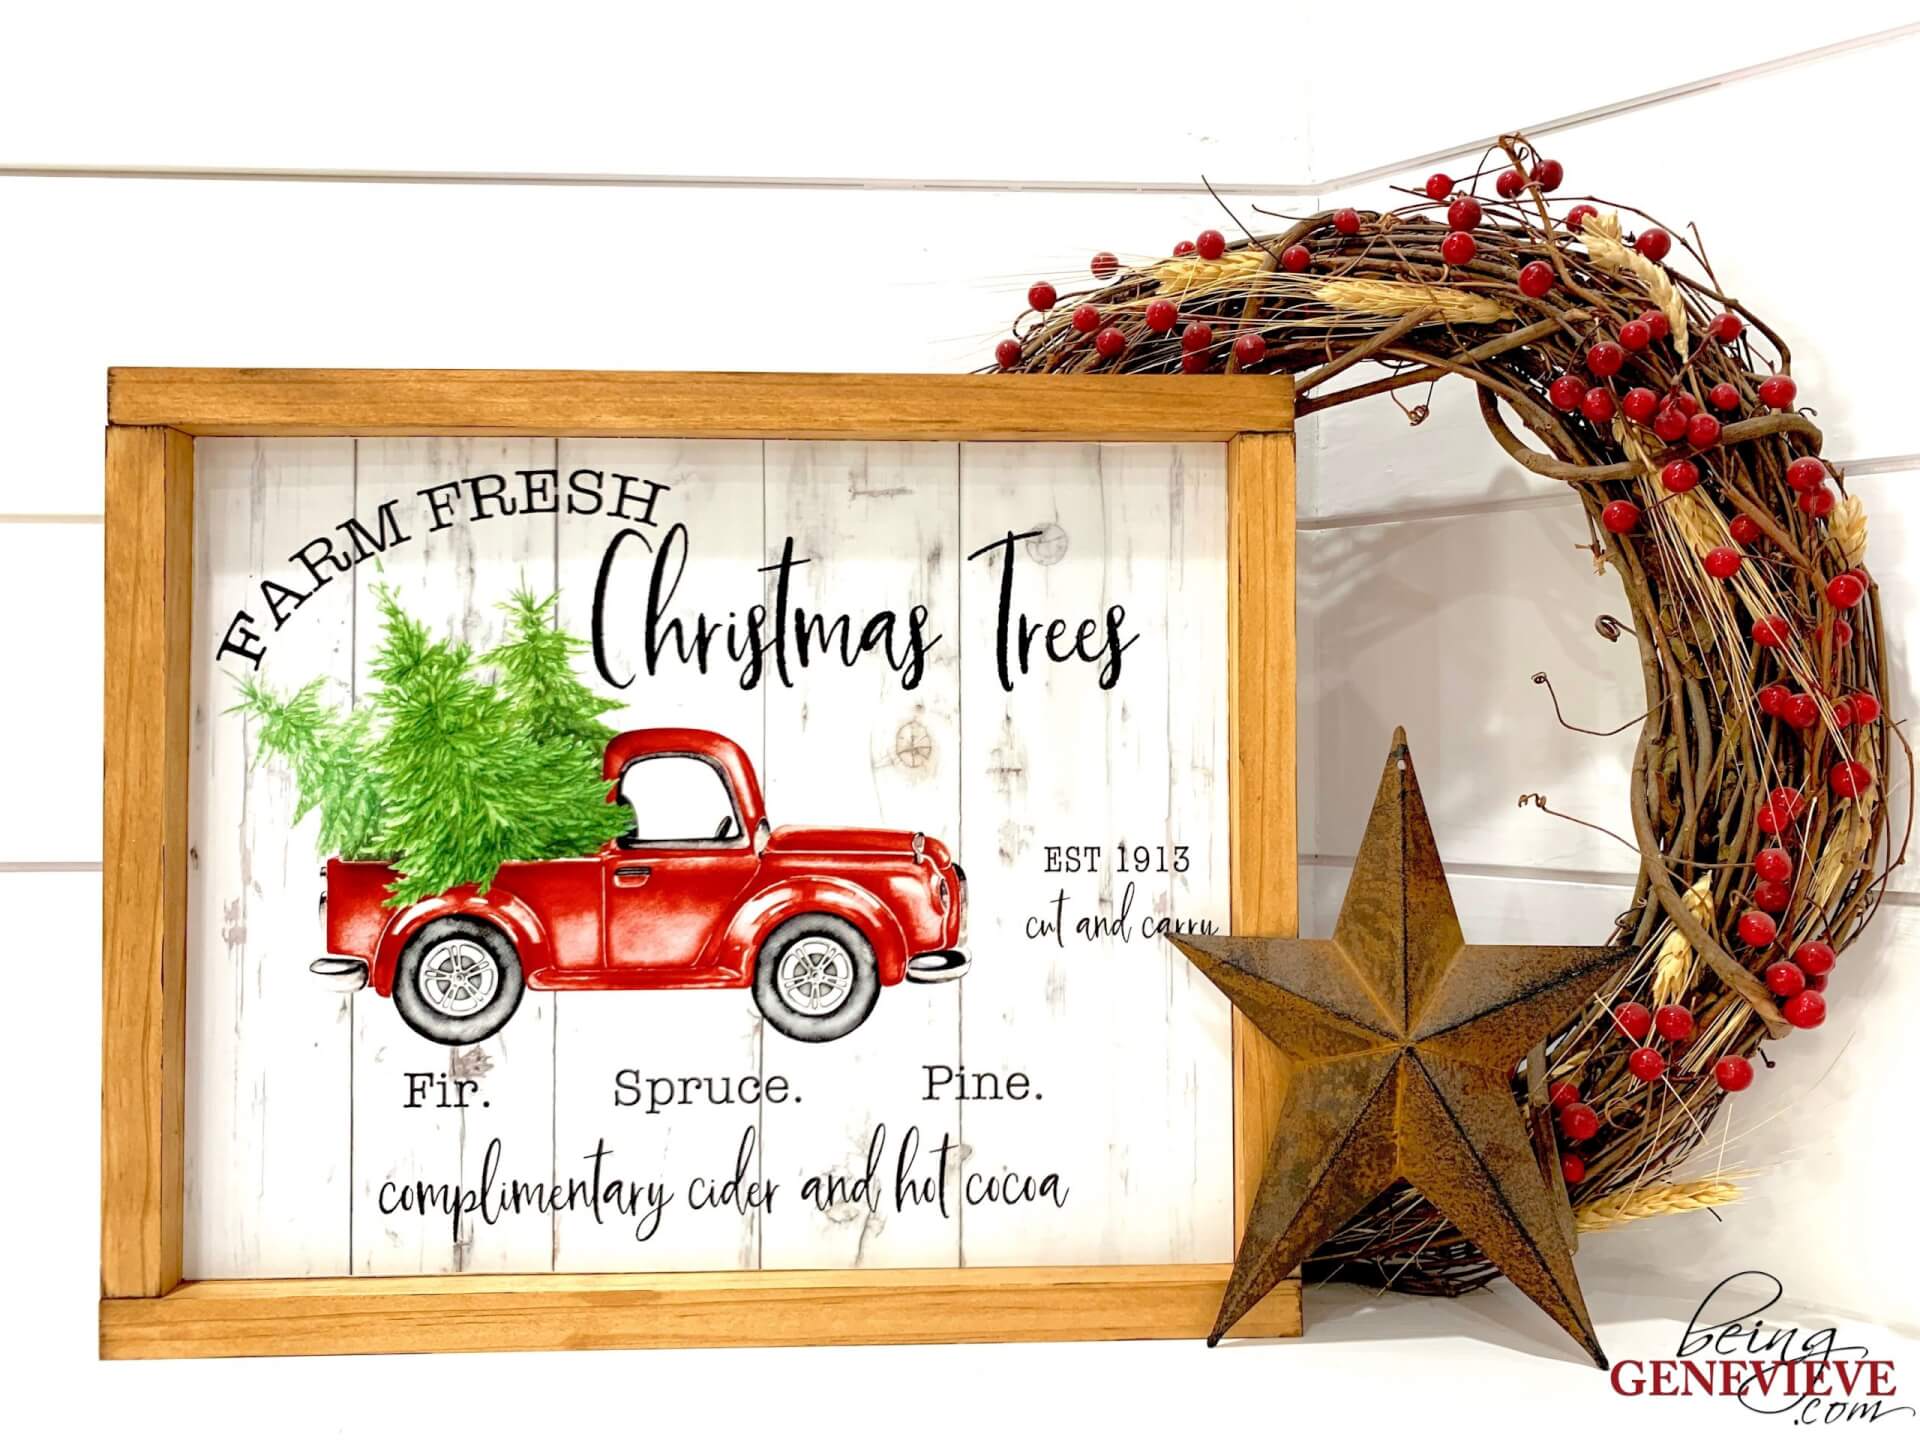
Step 3: Image Photo
The digital file is found here. Then send the file to a photo center (Sam’s Club, Costco, Walmart, etc.) to have it printed into an 11×14 print.
Step 4: Mod Podge
Paint one thin-ish coat of mod podge over the entire board. Stick photo to the board and use a credit card to remove all the air bubbles. *Allow to dry for about 15-20 minutes.
*If you don’t allow the under layer of mod podge to dry before adding the top coat over the picture, it will cause the photo wrinkle up and not lay flat. 

Add a layer of mod podge over the picture and allow to dry fully. 

Step 5: Adhere Frame
Stack 11 quarters on top of each other. Do that 3 more times. These will act as a platform for your underlayment while the glue sets up.
 Apply gorilla glue to all sides of your underlayment board. Then place onto the quarter platform. Stick frame to underlayment board. Don’t forget to add gorilla glue to all the frame corner joints.Tape frame together on corner joints while the glue sets up.

Once glue is dry and set, remove the tape.


